1. Reports Aggregated link
The aggregated link at the top left-hand side of the report thumbnail includes the following functions:
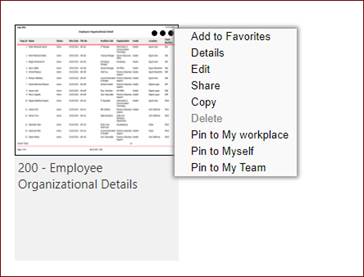
a. Add to Favorites
This link enables the user to shortlist the reports that are used frequently. Upon adding the first report to Favorites, the new “My Favorites” tab will appear including the shortlisted reports.
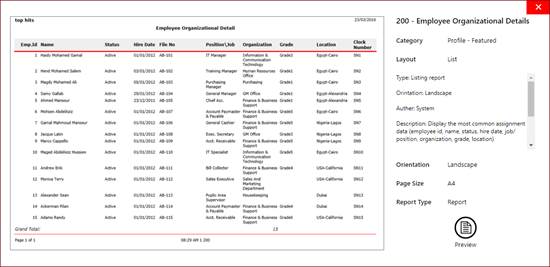
b. Details
This link displays a clearer screenshot for the report in addition to report Category, Layout, Type, Description, Orientation, Page Size and Report Type.
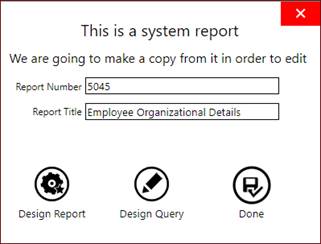
c. Edit
This link is used to edit the report, however the edit is not done in the original report and instead the application copies the report first, so that the amendments will be applied on the new report copy while the original system report remains as is.
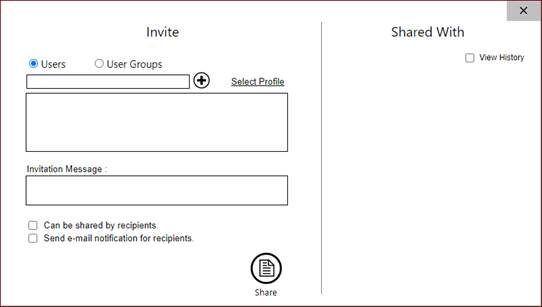
d. Share
This link is used to share the reports created by a system user with other users or user groups.
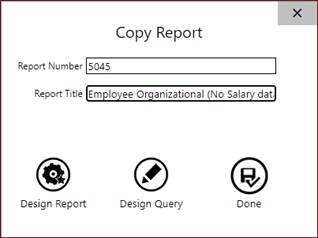
e. Copy
This link is used to copy the report with another unique number and report title.
f. Pin
This link enables the user to pin the report to one of the 3 default zones. These pinned reports can later be displayed in the user’s main page.
2. Reports Filter Tabs:
The “Report Filter” includes many kinds of fields; numerical, text, multi-selection built-in lists or user-defined dropdown lists, and check boxes. Accordingly, users can control and manipulate the type of output of the previewed report, as per the entered and specified details at the filter before previewing, printing or exporting the report.
The following explanation shows how to use the first 6 common tabs provided at all reports’ advanced filters:
a. Profile
This tab includes numerical fields which accept only any values including numbers and text fields which accept letters and special characters; like (%, $, etc) For example, in case a user needed to print a certain report for employees whose names start with the letter ‘W’, then the user will enter ‘W%’ at the ‘Name’ field. Also a user may use this special character ‘%’ as follows:
· William%: signifies previewing all employees whose first name is ‘William’.
· %William: signifies previewing all employees whose last name is ‘William’.
· %William%: signifies previewing all employees whose names include ‘William’, whether as part of the first, middle or last name.
Regarding drop-down lists, they enable users to apply multi-selections, via holding the ‘CTRL’ keyboard button along with clicking the number of selections at the same scrollable list.
b. ‘Assignment Data’
This tab includes the employee’s assignment data such as Organization, Job Category, Job, Position, Hr Status, Status, Grade, Pay S.C. Status, HR. S.C. Status, Location, Employer, Contract Type, Payroll Group, Pay Insur. Appl., HR Ins.App, Cost Center, Organization Type and Salary Scale.
c. ‘Other Info.’
This tab contains 2 main sections: Military Information and Foreigner Information.
d. ‘Dates’
This tab contains the filter of some date fields such as Hire Date, Terminate Date, Probation Date, Contract Start Date, Contract End Date, Work Receiving Date, Revised Hire Date, Retirement Expected Date and Birth Date.
e. Advanced Search
This can be utilized to add unlimited number of fields acting like additional filtering criteria. This is because the listed fields at the ‘Advanced Search’ are not included in any other filter tabs, yet they do exist at various pages of “Employee Files” icon.
f. My Form Fields
In addition, a user may include the required filtering criteria relevant to ‘My Form’ fields through the provided filter tab dedicated for user-defined ‘My Form’ fields at various modules. Also, a user can choose the proper relation (AND - OR) between various ‘My Form’ fields to control the intended filtering criteria, as well as grouping filtering for a number of modules.
3. Grouping and Sorting:
a. Grouping
The system provides users with the ability to group the report output results using the grouping section for sorting and categorizing data as per business needs. The grouping possibilities provided are based on the user-defined organization structure, job, job category, position, grade, grade group, employer, payroll group, cost center, cost center group, location, graduation and graduation type.
Furthermore, a user can put a mark at the ‘Print Organization’ check box at the filter, in order to categorize the report output data as per the organization structure predefined hierarchy.
b. Sorting
Sorting can be used for rearranging employees as per each sorting item, for multiple business needs.
· Profile ID
· Employee Name
· Birth Date
· National No
· Total Salary
4. Report Toolbar:
The system provides a multifunctional ‘Report Toolbar’ at the top of each report after preview. This toolbar facilitates navigation among report multiple pages, along with providing a number of options regardless of the report type; as follows:
|
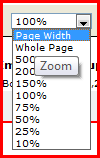
Zoom |
This dropdown list enables users to manipulate the size of the ‘Report View Area’, in terms of provided preview types.
|
|
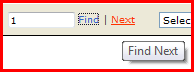
Find/Next |
A user can apply searching upon the report previewed content. A user can enter the required search at the provided field, then press ‘Find’ link. Also in case there were more than one result found, the ‘Next’ link will be active, in order to navigate among the found results.
|
|
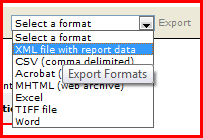
Export Formats |
A user can select the required exporting format from the provided list, in order to export the report content via the proper format for the data, to be able to take decisions professionally. Note that, the list of formats includes the following; XML File with report data, CSV (Comma Delimited), Acrobat reader (.pdf), MHTML (Web Archive), MS Excel (.xls), TIFF File and MS Word (.doc).
|
|
Refresh |
A user can click on this icon, for refreshing and updating the report data after previewing it.
|
|
|
A user can click on this icon to print the previewed report content.
|


5. Additional Information:
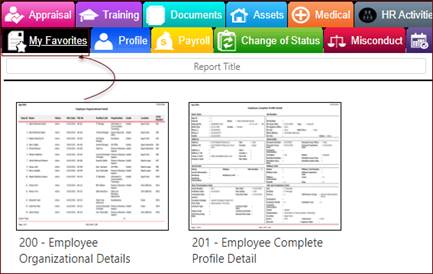
- HITS DNA HCM has a standardized sequential manner in numbering built-in reports at each module. For example, “Profile” module reports start with report number 200; and continue 201, 202, and so on.
- The first 6 tabs are common tabs provided at all reports’ advanced filters. Regarding the rest of advanced filters’ tabs following those six, they do change as per the module business logic. For example, concerning the “Profile” module advanced filter, it was designed with a 7th tab for ‘Qualifications’ details. On the other hand, regarding “Payroll” module report filter; it includes a tab dedicated for ‘Finance’ details.
- Some reports doesn’t include the common 6 tabs in their filter due to the unique design of such reports and the data they display such as the budget reports and analytical reports.
- After pressing ‘Preview’ link, a user can easily export the contents of the report in Excel format via an integration with Microsoft Office, or press print via the provided icon.
- The user can click on ‘Clear’ link provided at all reports’ filters, which erases all specified or entered filtering criteria, so that a user can apply a different combination of filtering criteria.
- The system provides users with a brief comment about the applied filtering criteria under the report title after previewing. Thus, a user can easily identify the denotation and purpose of the report content after previewing, and even after a while via a soft copy or a printed hard copy. Accordingly, various Managers can professionally utilize current and historical system outcome data for planning and taking the proper decisions at the right time.
- The system provides a user with a tool tip within the report filter, in order to show full data within each item.